
After seeing the recent Arcade 1UP machines being sold that offer only a few games per machine, it rekindled my interest in building my own (much better) custom arcade machine with a Raspberry Pi. So, over the holiday season that is exactly what I did 😄
The wood cabinet itself I got from recroommasters. Their kits give you the cabinet and controller (if you want it). Of course, the actual computer powering all this and the monitor are not included. That you need to build yourself. For my cabinet, I am using a Raspberry Pi 3B+ running RetroPie and emulation station.
My machine currently has over 20,000 games on it from both the Arcade and older game consoles including:
Commodore 64
Atari 2600
NeoGeo
NES
Super NES
Sega
Colecovision
Playstation 1 (PSX)
Intellivision
Nintendo Gameboy
and more!
I even have a couple of N64 games on there!
The nice thing about these cabinets is if you want to hook up something more powerful like RetroPie running on a Linux PC or a regular Windows PC running something like launchbox/bigbox…you can do that! For the games I was focused on though, a Raspberry Pi is just fine and consumes VERY little power. Here is some video of the machine and some of the games I have running.
Step One: Get a Raspberry Pi
You can pick up a raspberry pi and a small case for about $50 on Amazon. This is the kit I bought, which comes with a clear case, power supply and heat sinks.
Step Two: Install the RetroPie Software or Download Image
One you have a raspberry PI and an SSD card, you want to install retropie. You can find installation information on the RetroPie website. Alternatively, you can go to arcadepunks.com and download a ready-to-go image that has the OS, RetroPie and even ROMS already preloaded. There are multiple images out there depending on the size of your SSD card as well as what kind of games you are focusing on. I liked this image as it has a wide assortment, but no harm in trying many of them! There is some questionable legality in these images, so just being upfront about that.
Step Three: Download ROMS
If you did not grab a pre-made image, you will have to download ROMs yourself from various sources on the internet. This can be done a few ways, but the easiest is to enable SSH on your RetroPie device and simply transfer the files in that way.
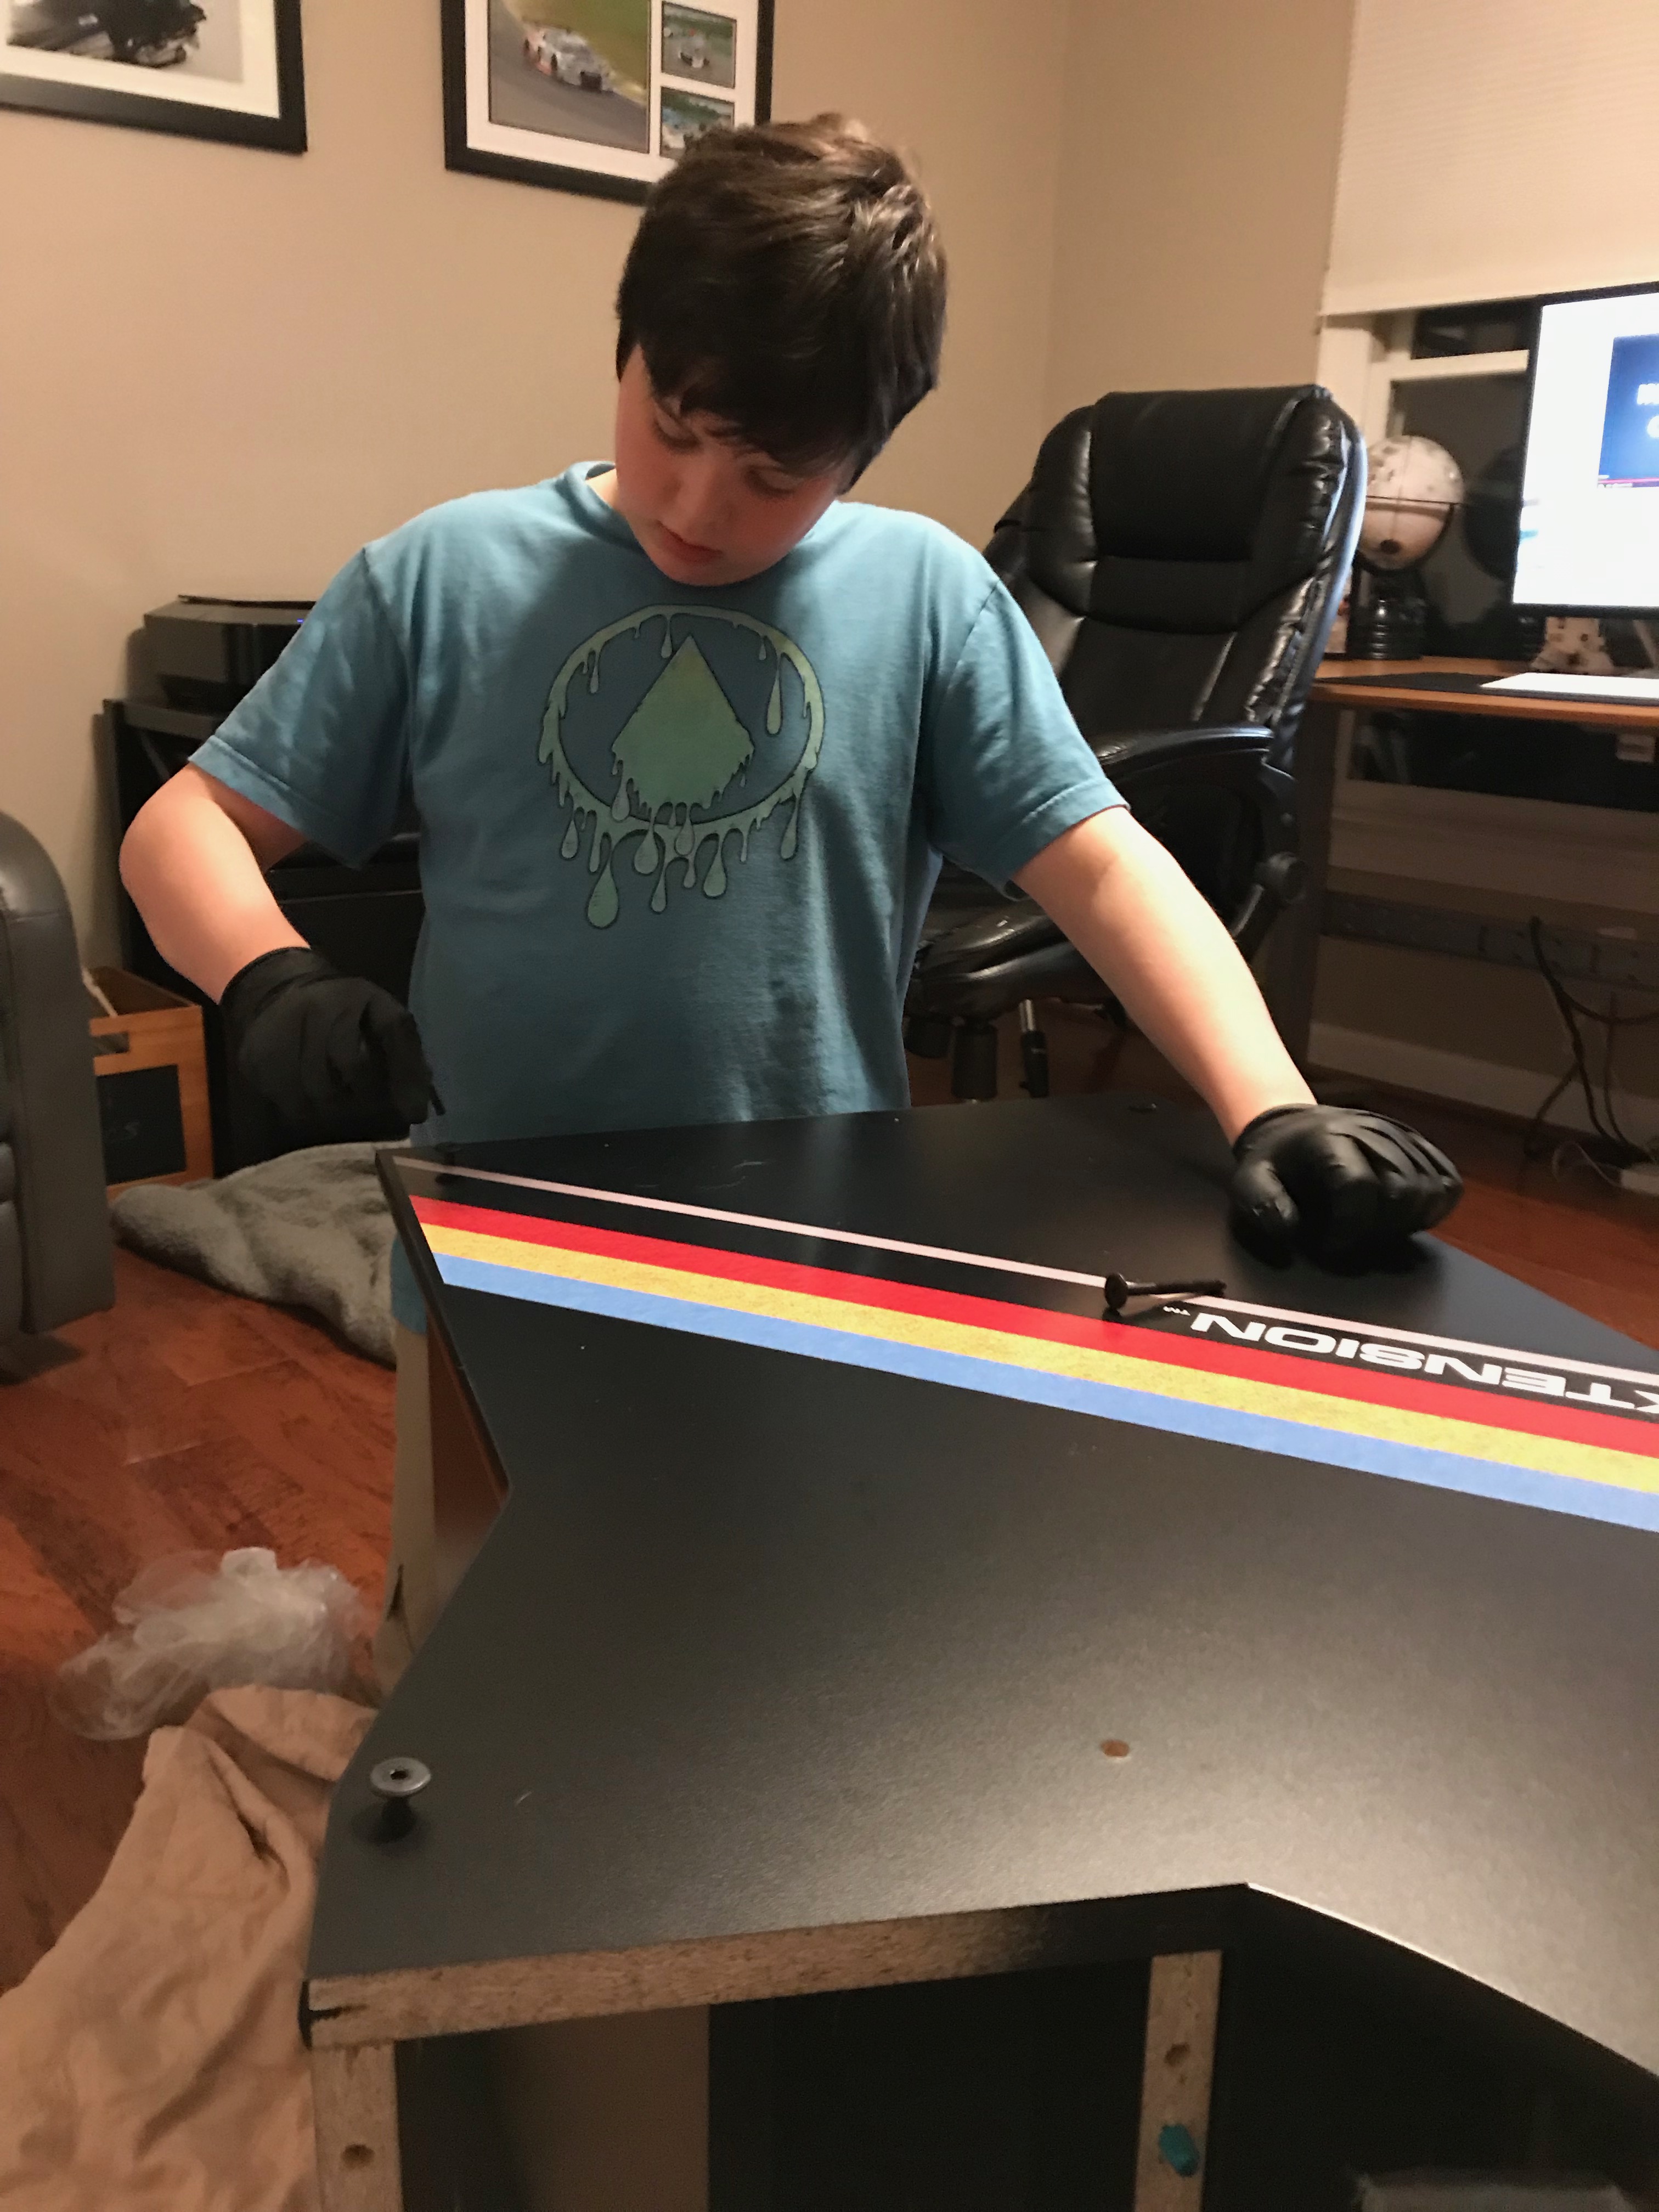
Step Four: Order and Build the Cabinet
There are several options out there, but I liked recroommasters many options. Once you get the unit and assemble it, I would suggest updating the firmware on the iPAC control board and setting it to use joystick emulation rather than a keyboard. This will make it work better with a PC based solution if you ever upgrade down the road….and seems to work better with some of the consoles being emulated.
My son helped me build it, so it is a great project for you and your kids to work on.
Step Five: Attach and Configure the RetroPie
This is honestly where you will spend an enormous amount of time. I’ve spent weeks tweaking and adjusting things as far as controls. It can take some trial and error and some games work with some emulators better than others. Different emulators for different systems also require some tweaking the control setup. I have used Unix/Linux for many years, so I was comfortable setting various things up like SSH access and so forth, but you don’t have to get into too much of that if you just want the basic running,
Overall, a great project! Still deciding on whether I should keep it or sell and build an even better one with lit joystick buttons and custom marquee.